Alert Viewer
Initial (Main Search) Screen
-
From the POS Backoffice > Support menu, select Alert Viewer.
-
An initial search screen (like the one shown below) should appear:
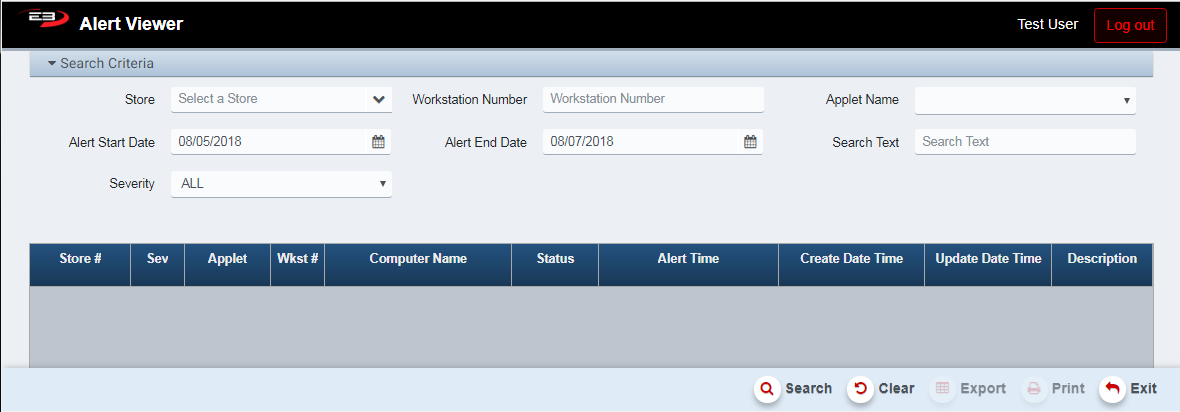
Screenshot of the Alert Viewer application.
-
There are no required search criteria, the criteria are used to filter (and reduce) the result set.
-
Select a Store from the drop-list, the list contents are based on store visibility, the default is all visible stores.
-
Workstation Number is used to select the workstation (register or BO ID), default is all.
-
The Applet Name drop-list selects a particular application for filtering.
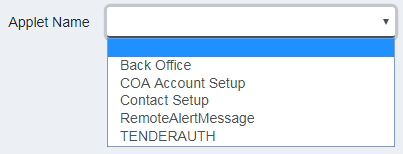
Screenshot of the Alert Viewer application.
-
The Alert Start Date and Alert End Date values filter the results to a particular date range.
-
The default Alert Start Date is two days ago, the default Alert End Date is today.
-
The Search Text field can be set to look for specific text in the Description field
-
The Severity drop-list will filter on a particular severity value, the default is ALL.
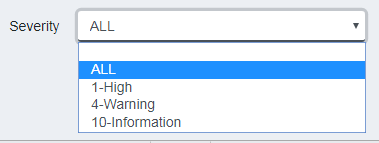
Screenshot of the Alert Viewer application.
-
Click Search to perform the search based on the current criteria.
-
Click Clear to clear the search criteria and the results.
Result Grid
The results are displayed in a grid, subject to the various search/filter criteria.
- An unfiltered result set looks like the following:

Screenshot of the Alert Viewer application.
-
Store # contains a specific store number if the alert is related to an individual store.
-
Sev indicates the severity of the alert (1 = High, 4 = Warning, 10 = Information).
-
Applet is the name of the application that generated the alert.
-
Wkst # value is the number of the register or Workstation ID that generated the alert.
-
Computer Name is the machine name of the register or workstation.
-
Status indicates the current status of the alert.
-
Alert Time is the time the alert occurred.
-
Create Date Time is the time the alert entry was created.
-
Update Date Time is the most recent time the alert was updated (created, processed, etc.).
-
Description is a text description of the alert.
Other Commands
Export
The Export function allows the user to save the alert report as a comma-separated values (CSV) file for use in Excel. Once you have a result set that’s filtered as desired, click the Export button. The file is saved as Alerts_yyyy-m-d.csv in the default location, typically the Downloads folder for the user.
The Print function allows the user to save the report as an Acrobat PDF file for viewing/printing in Adobe Acrobat Reader. Once you have a result set that’s filtered as desired, click the Print button. The file is saved as AlertViewer.pdf in the default location, typically the Downloads folder for the user.