Barcode To SKU Maintenance
Initial (Main Search) Screen
-
SignOn to the BackOffice.
-
From the Support > Alert Viewer menu, select Barcode To SKU XREF Maintenance.
-
An initial search screen (like the one shown below) should appear.
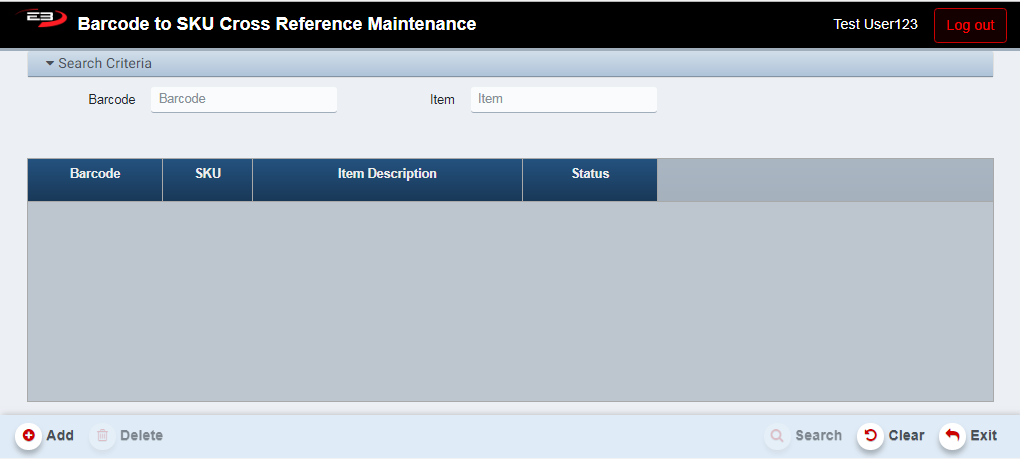
Screenshot of the Barcode To SKU Maintenance application.
-
The user may enter the Barcode number or the item’s SKU (or both) and click Search.
-
If only an Item (SKU) is entered, each matching Barcode for that item, if any, is returned.
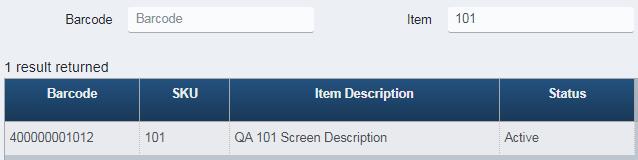
Screenshot of the Barcode To SKU Maintenance application.
- If there are no matching barcodes for that Item, a warning appears; click OK to dismiss.
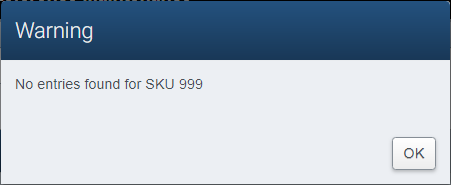
Screenshot of the Barcode To SKU Maintenance application.
- If only a Barcode is entered, the Item (SKU) matching the barcode, if any, is returned.

Screenshot of the Barcode To SKU Maintenance application.
- If there are no matching Items (SKUs) for that barcode, a warning appears; click OK to dismiss.
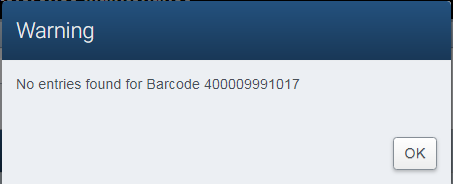
Screenshot of the Barcode To SKU Maintenance application.
- If both an Item and a Barcode are entered and match, the single matching item is returned.
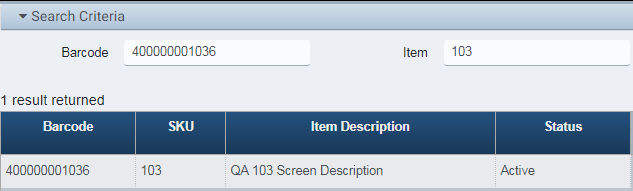
Screenshot of the Barcode To SKU Maintenance application.
- If both an Item and a Barcode are entered but don’t match, a line is returned for each Item and Barcode.
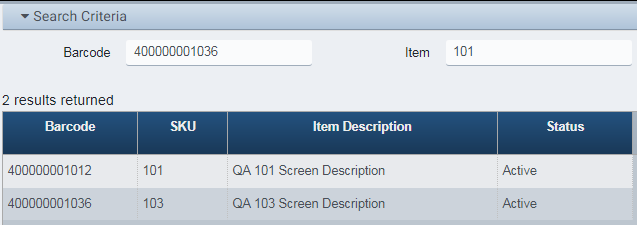
Screenshot of the Barcode To SKU Maintenance application.
- If an Item is entered and there are multiple barcodes for the item, a line is returned for each barcode.
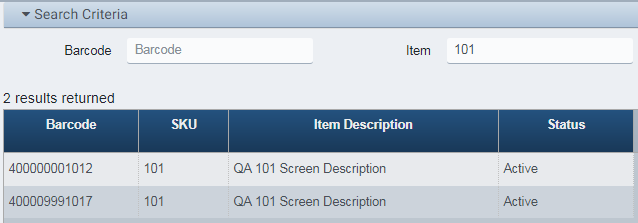
Screenshot of the Barcode To SKU Maintenance application.
Adding And Deleting Barcodes
A user can add a new barcode to an existing item, or purge the barcode from an existing item.
Adding Barcodes
-
To add a barcode to an item, click the Add button.
-
A dialog appears, requesting the Item’s SKU and Barcode while displaying the Item’s description (if any).
-
If a value is entered in the Item search criteria, it appears in the dialog.
-
If a value is entered in the Barcode search criteria, it appears in the dialog.
-
If both values are entered in the search criteria, both appear in the dialog.
-
The item’s description, if known, appears in the Description field; otherwise it is blank.
-
The Description field is read-only (even if it is blank).
-
Be sure to validate the barcode before adding it to the item, the barcode is not validated.
-
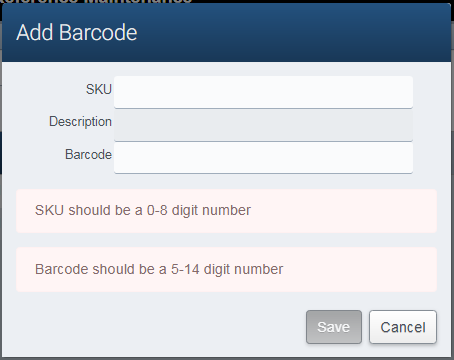
Screenshot of the Barcode To SKU Maintenance application.
Deleting Barcodes
-
To delete a barcode from an item, first locate them item by entering the SKU and then clicking Search.
-
Highlight the line in the results containing the barcode you wish to remove from the item and click Delete.
-
The Status of the barcode will change from Active to Purge Pending
