Event Reader
This Xapp is only available with on-premise deployments.
Initial (Main Search) Screen
-
From the POS Backoffice -> Support menu, select Event Reader.
-
An initial search screen (like the one shown below) should appear.
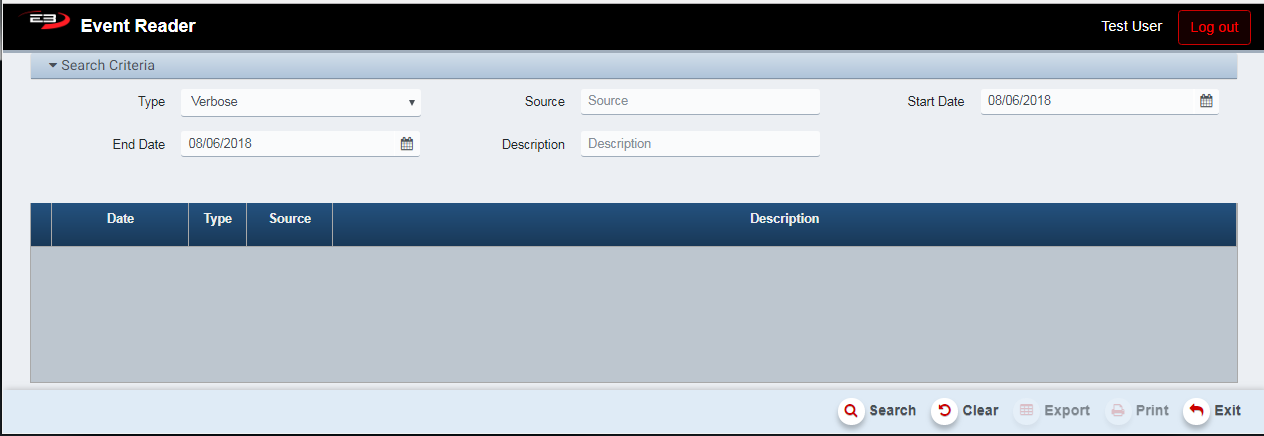
Screenshot of the Event Reader application.
-
The Type criteria specifies the severity of the event: Verbose, Information, Warning, Error, and Critical.
-
Verbose is used to return all events regardless of severity.
-
The Source criteria can be used to specify applications that are registered with Windows for the events
-
The Start Date and End Date limit the results to a specific date range, both fields default to today’s date.
-
The Description field can be used to search for specific words in the event description.
-
Click Search to retrieve the results.
-
For example, here are results of a search filtered using “Customer” in the Description field.

Screenshot of the Event Reader application.
- Once search results are available, the Export and Print buttons become enabled.
Other Commands
Export
The Export function allows the user to save the event report as a comma-separated values (CSV) file for use in Excel. Once you have a result set that’s filtered as desired, click the Export button. The file is saved as EventReader_yyyy-m-d.csv in the default location, typically the Downloads folder for the user.
The Print function allows the user to save the event report as an Acrobat PDF file for viewing/printing in Adobe Acrobat Reader. Once you have a result set that’s filtered as desired, click the Print button. The file is saved as EventReader.pdf in the default location, typically the Downloads folder for the user.