Operator Maintenance
Initial (Main Search) Screen
-
From the Operator Management / Reports Menu, select Operator Maintenance
-
An initial search screen (like the one shown below) should appear
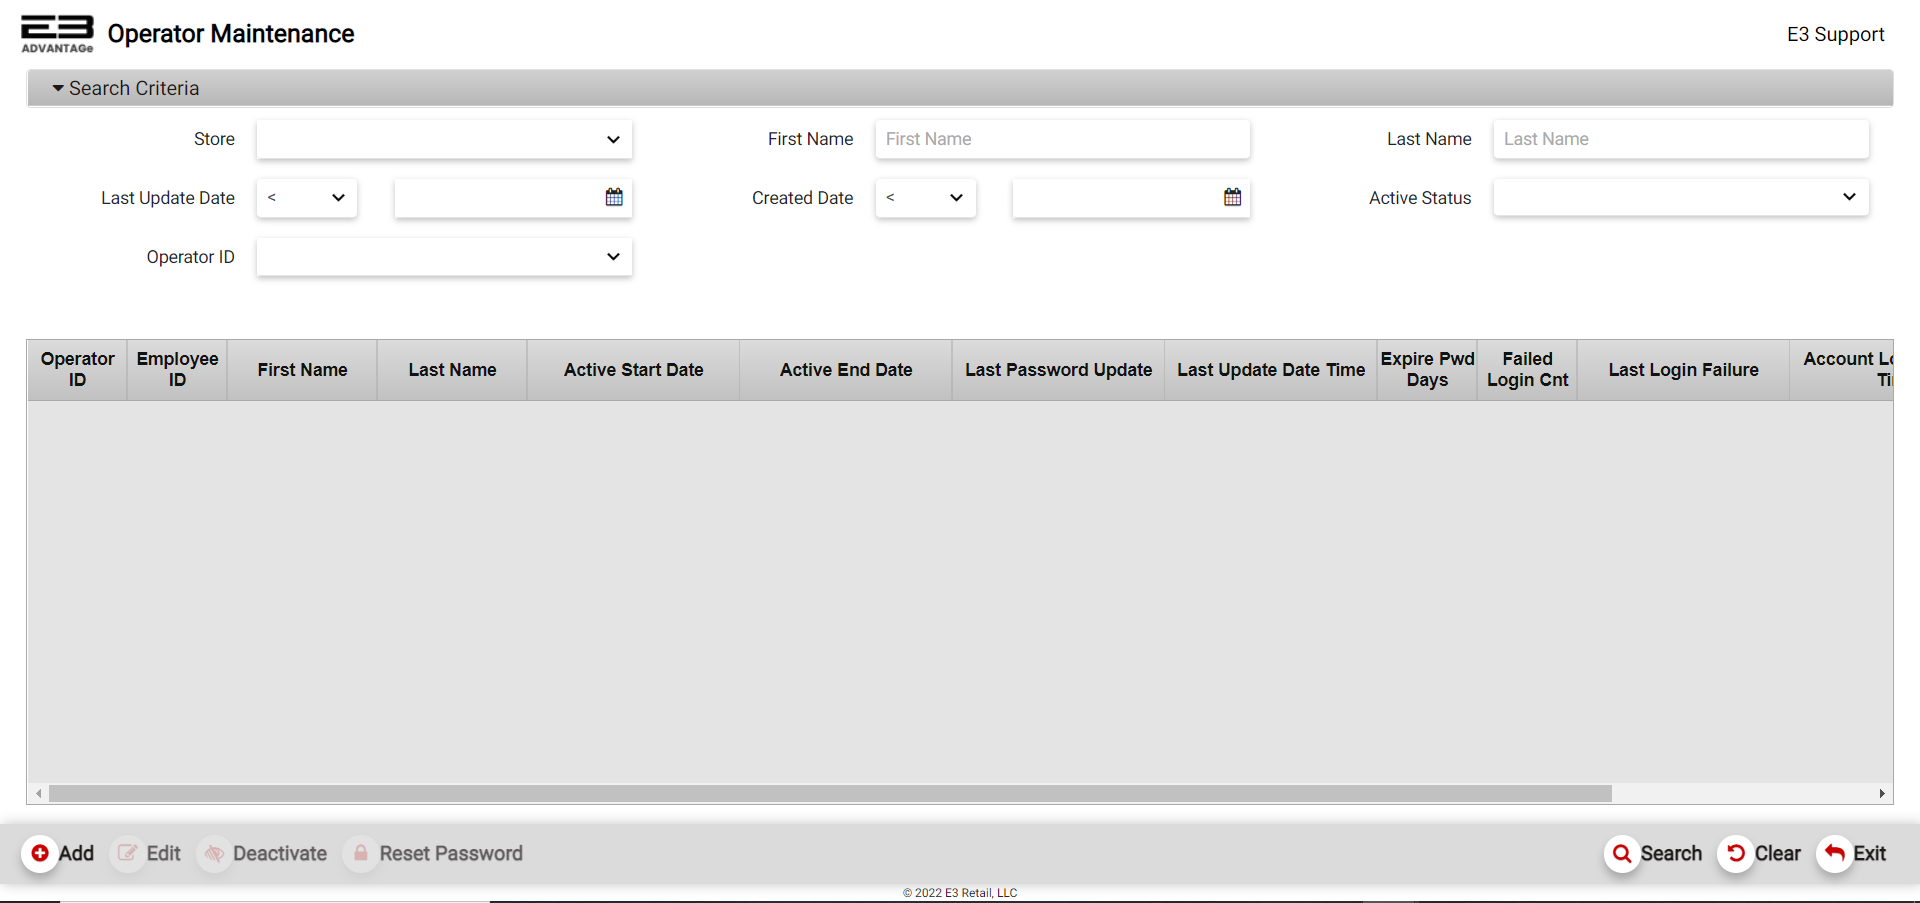
Screenshot of the Operator Maintenance - Search Screen.
-
In the Store field, first select a single store from the dropdown menu.
-
Upon selection of the store, the user may hit the Search button, on the bottom right hand side, to search the POS Operators defined for the store, or start the process to ADD a new POS Operator (bottom left) or EDIT an existing POS Operator (bottom left).
Adding An Operator
To add an operator, set the Store number and then click Add.
Adding An Existing Employee
If there are employees that are not already operators for the store you selected, a list of the employees will appear. You can search the employee list by adding First/Last names (at least 2 characters of each name are required) or Employee ID. To add an existing employee as an operator, click on the row in the employee search results (which enables the Select button) and then click Select, the edit screen for the operator appears.
All fields marked with a red * are required fields, for example The Work Group ID List is a required field - select the desired workgroup/s for the operator you are creating from the dropdown menu provided.
Add New Employee
If you do not have any employees that are not already operators for the store you selected, the results section will come back empty. The Add function (bottom left) allows creating and adding a new employee to make this employee an operator. From employee selection screen, click Add.
The user is requested to enter a new operator ID, enter the new ID value and then click Continue; or click Cancel to terminate the Add. If the Operator ID that you selected is already in use, a validation error will pop up and the continue button will be disabled.
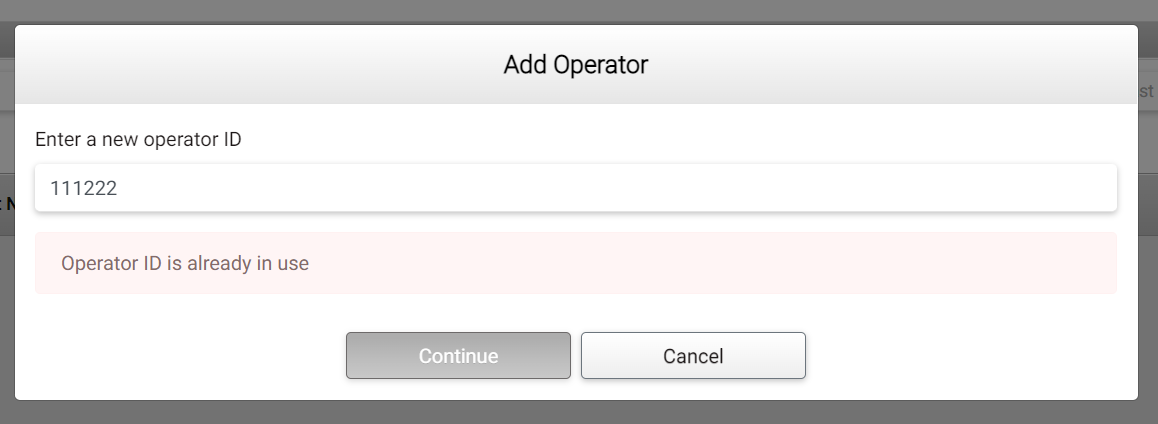
Screenshot of the Operator Maintenance - Add Operator.
The Add/Edit screen appears with the First Name, Last Name, Work Group ID and Authorized Stores marked as required fields. Set the required fields and click Save (bottom left) when complete or click Cancel to terminate the Add.
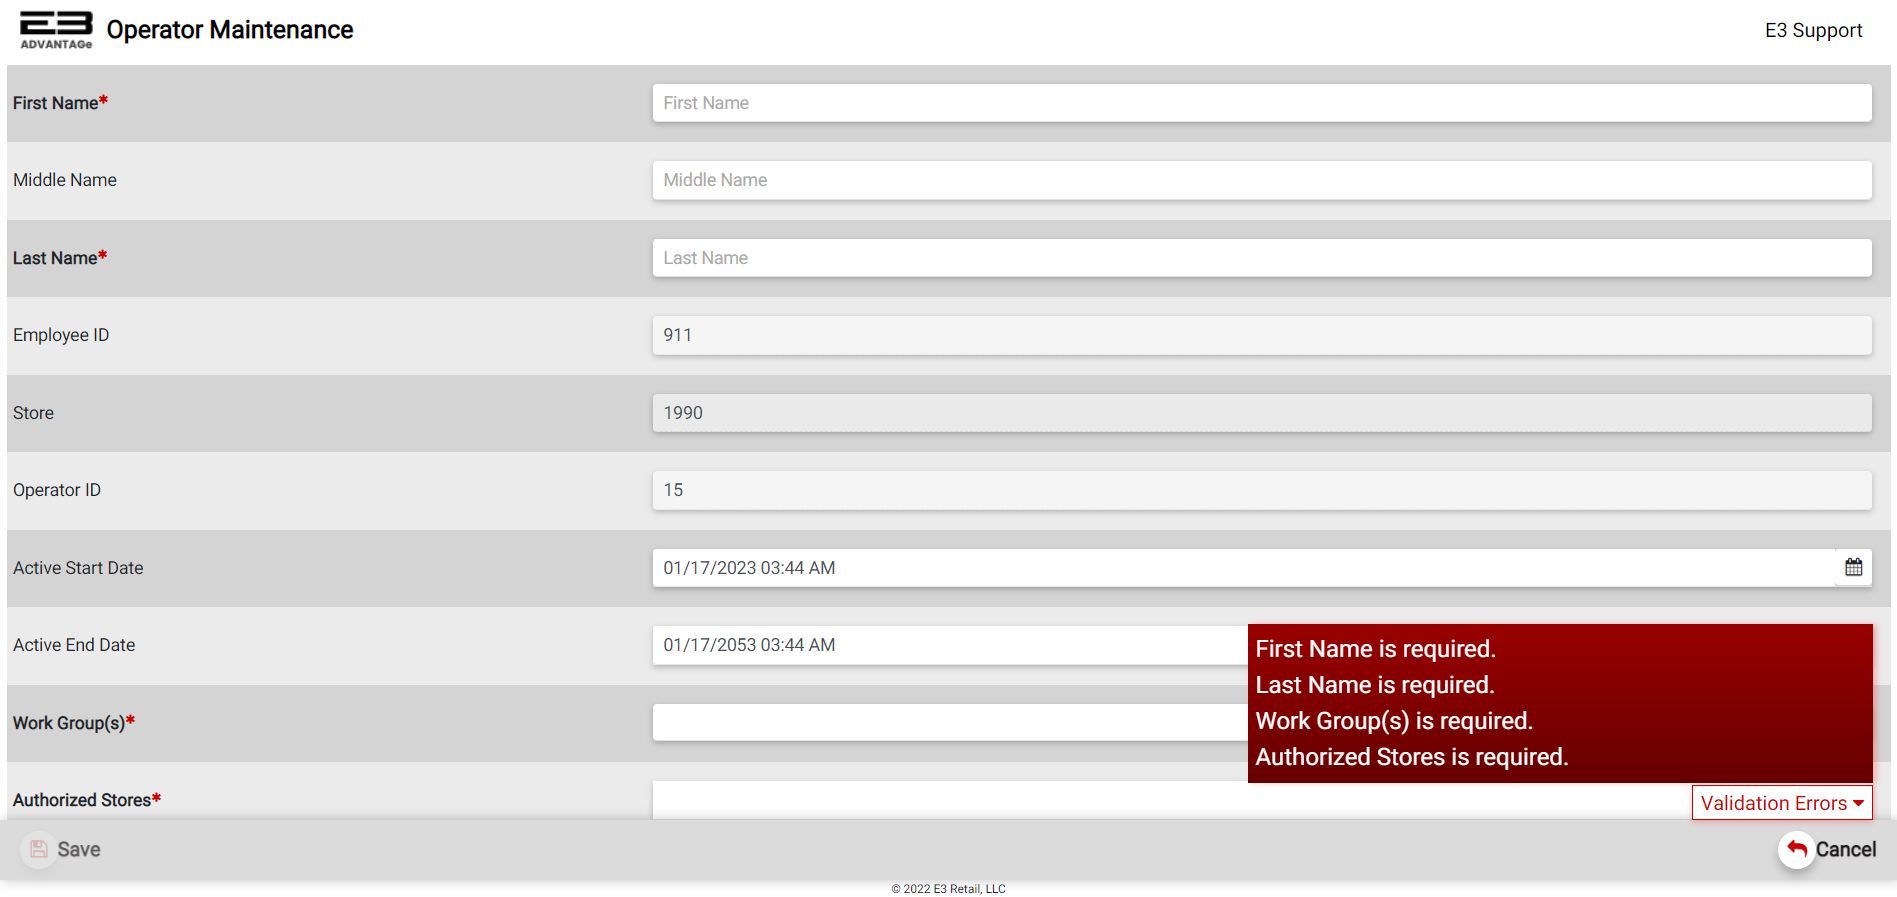
Screenshot of the Operator Maintenance - Add Operator.
A confirmation dialog appears when the information has been saved, click OK to close.
Editing An Operator
To edit an existing operator, set the Store number and then click Search (bottom right); the list of operators for the selected store appears. Click on the row for the operator you wish to modify, the Edit, Deactivate, and Reset Password buttons (bottom left) become enabled. Click Edit to modify the selected operator.
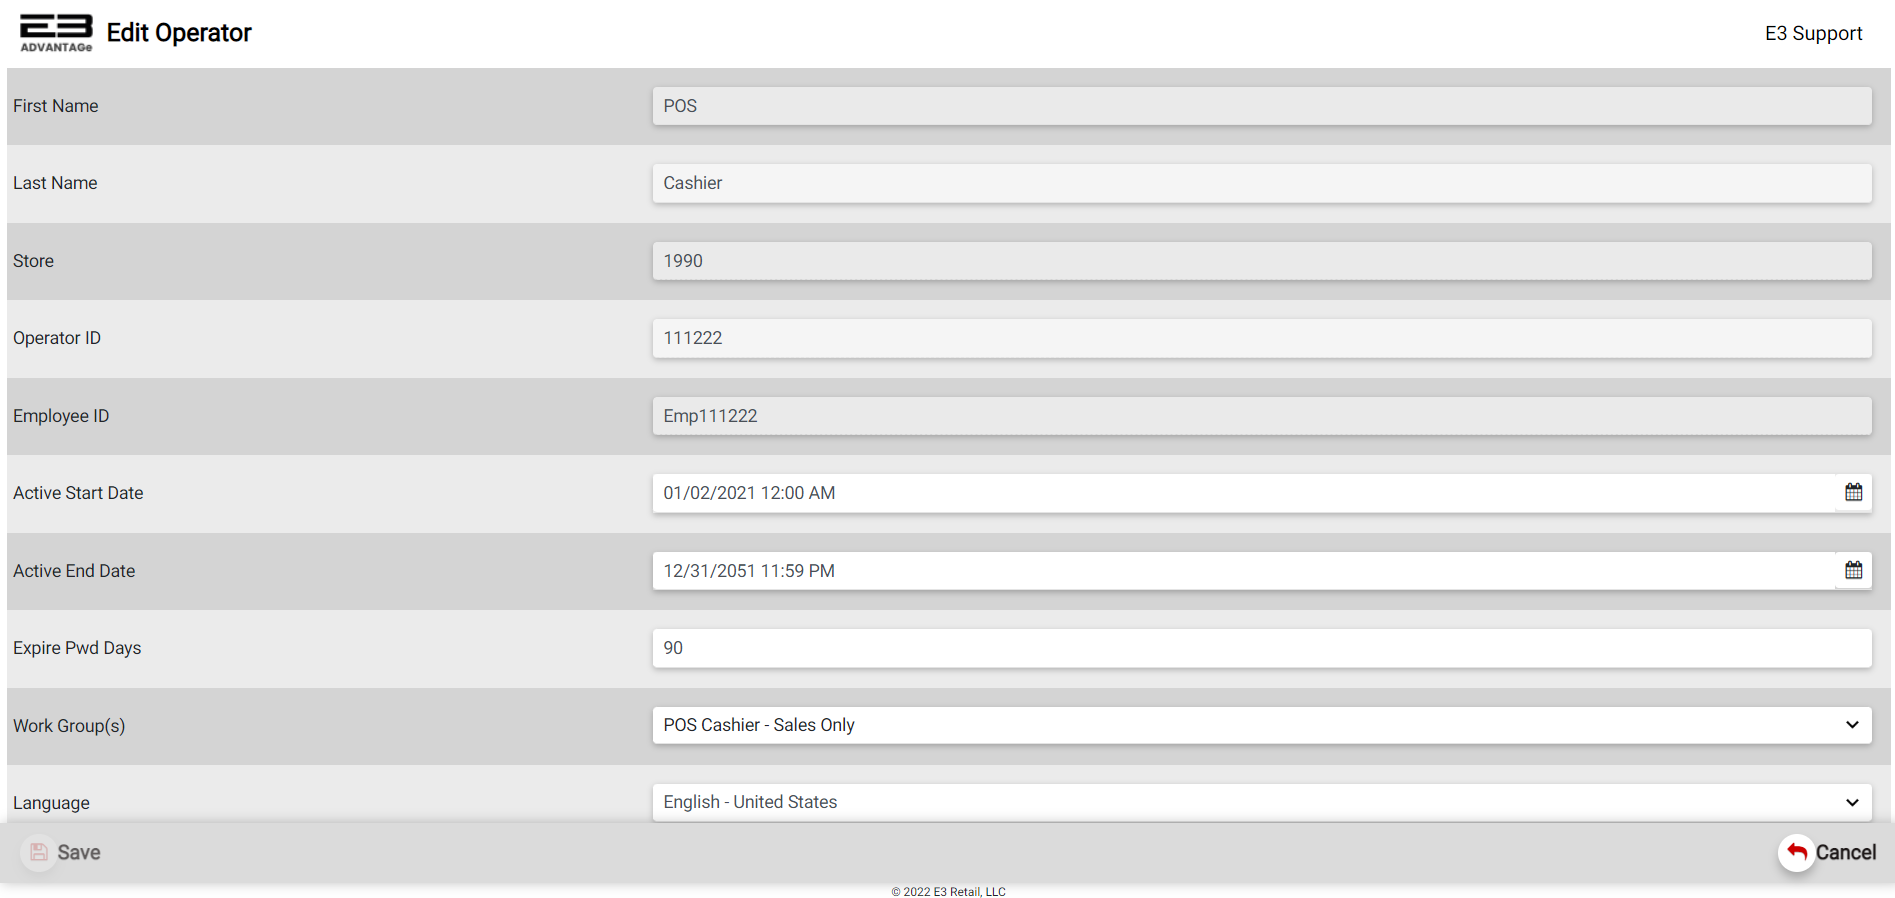
Screenshot of the Operator Maintenance - Edit Operator.
The following fields can be edited for an existing operator:
-
Active Start Date
-
Active End Date
-
Expire Password Days
-
Workgroup ID List
-
Language
-
Display Orientation
If the information that has been changed does not fit the data requirements, a validation error message will pop up on the bottom right. The SAVE button is enabled once all validation errors are validated.
Click Save (bottom left) to save any changes, a confirmation dialog appears; click OK.
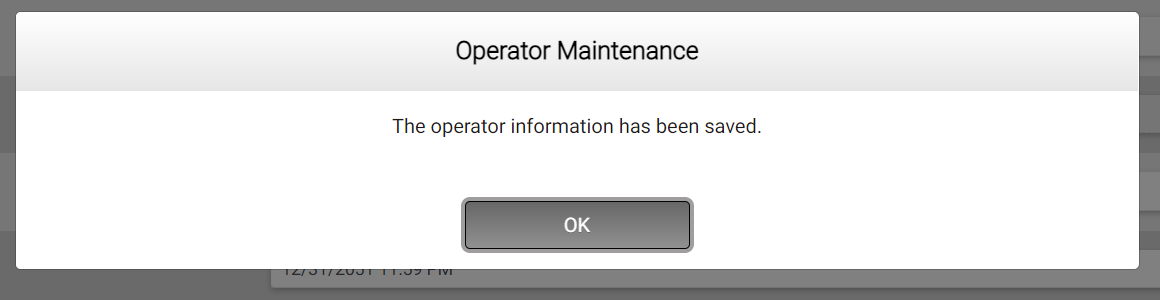
Screenshot of the Operator Maintenance - Confirmation Dialog.
Deactivate An Operator
To deactivate an operator, search for the operator (search by entering in information into the search criteria - First Name and/or Last Name and/or Operator ID). Click on the row in the search results to select the operator and then click Deactivate. A confirmation dialog appears, click Yes to continue the operator deactivation process.
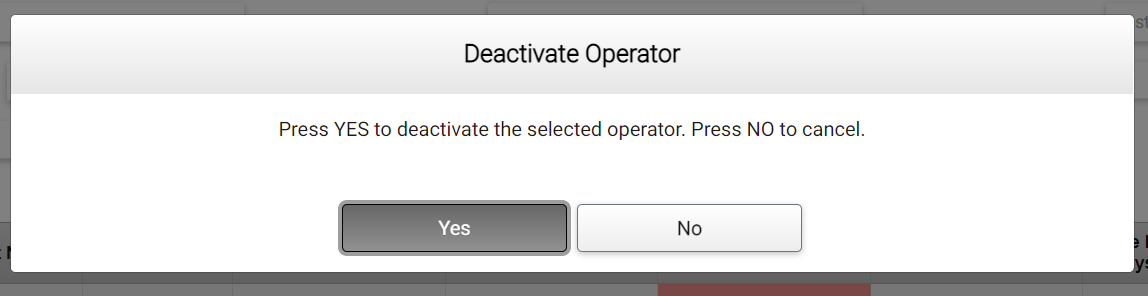
Screenshot of the Operator Maintenance - Deactivate Operator.
When the process is complete, the user is notified. Click OK.
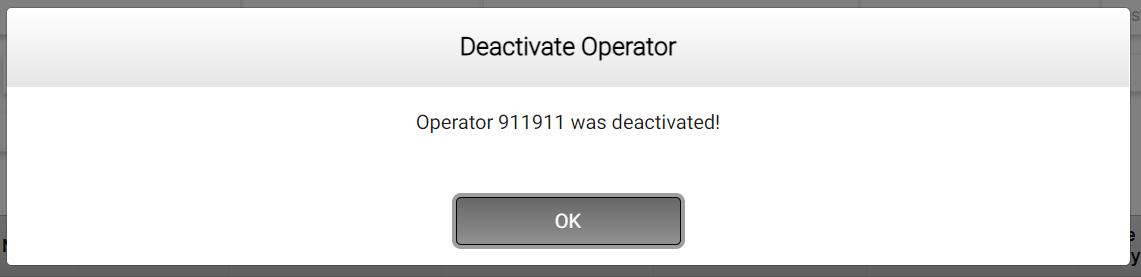
Screenshot of the Operator Maintenance - Deactivate Operator.
Reset Operator Password
To reset the password for an operator, search for the operator (search by entering in information into the search criteria - First Name and/or Last Name and/or Operator ID). Click on the row in the search results and then click Reset Password. A confirmation dialog appears, click Yes to continue the password reset process.
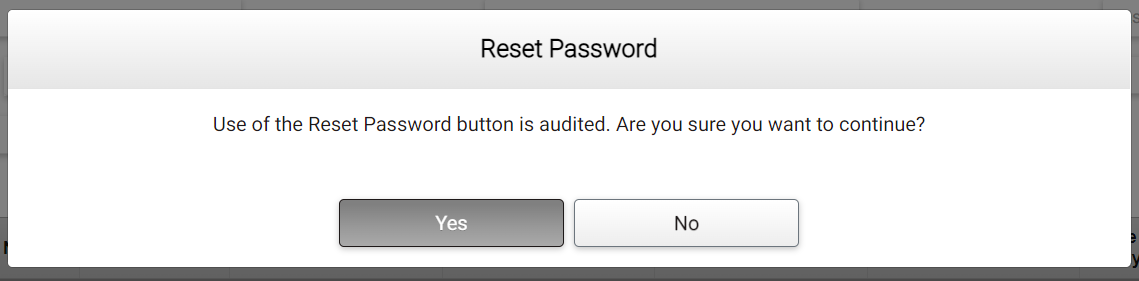
Screenshot of the Operator Maintenance - Reset Password.
After clicking on"Yes", the Change Password dialog appears. Enter the new password and confirm it, then click OK to accept the new password or click Cancel to stop the password change process.
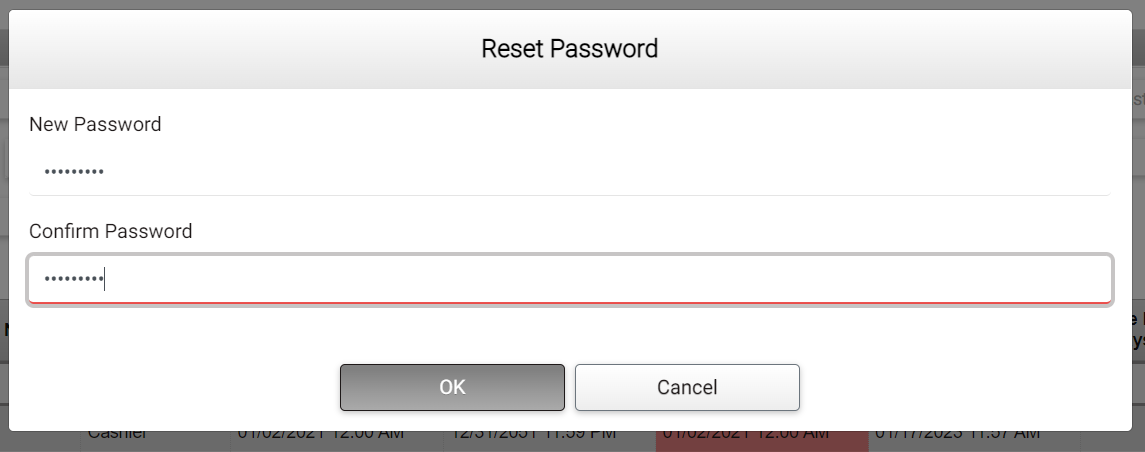
Screenshot of the Operator Maintenance - Reset Password.
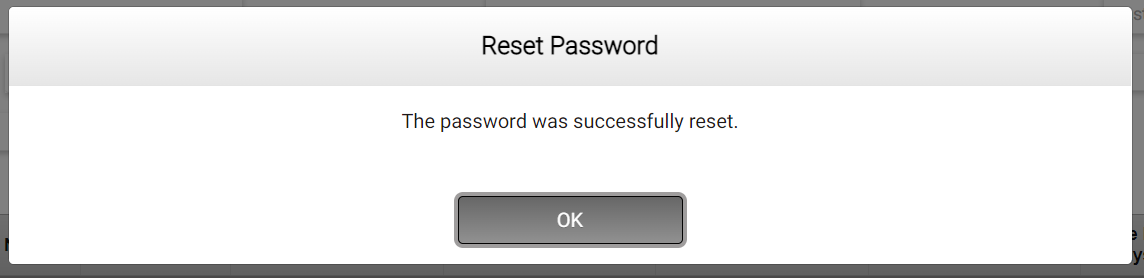
A confirmation dialog indicates the password reset was successful, click OK to dismiss.