Print Item Labels
Initial (Main Search) Screen
-
From the Item Pricing / Data Management menu, select Print Item Labels.
-
An initial search screen (like the one shown below) should appear.
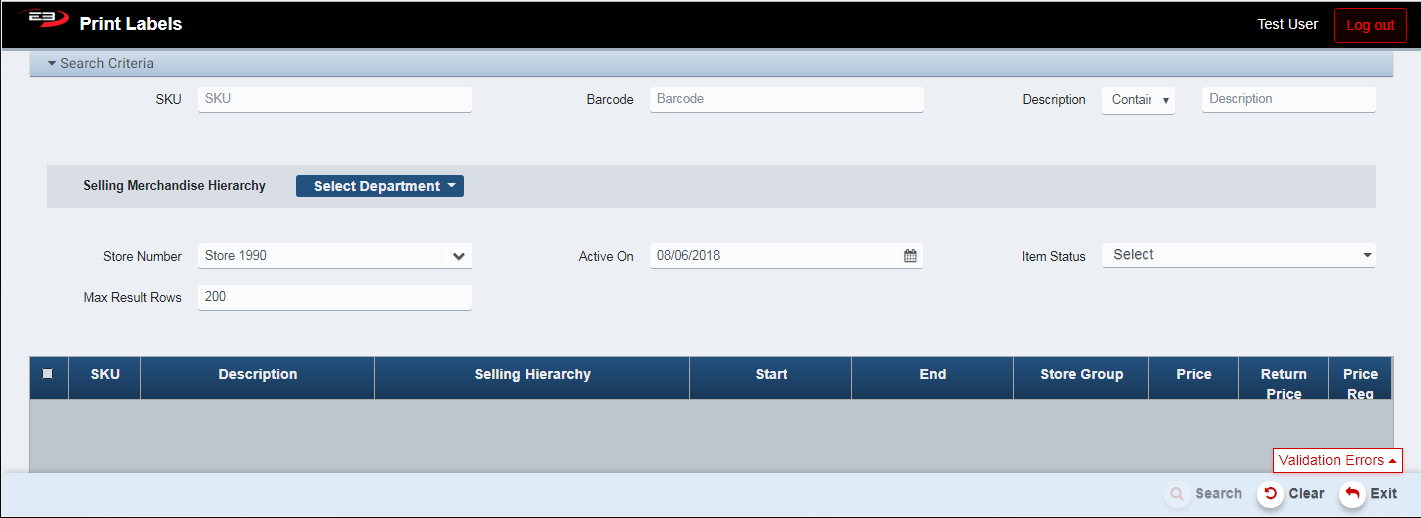
Screenshot of the Print Item Labels application.
-
The validation errors require one of the following search criteria be entered:
-
SKU
-
Barcode
-
Description (Starts With, Contains, Ends With)
-
Merchandise Hierarchy (can be Department, Department > Class, or Department > Class > Subclass).
-
-
When you have entered one of the required search criteria, the validation error closes.
-
Click Search to see the items for which you can print labels.
-
If you don’t select any individual item(s), the default is to print labels for all items using Print All.
-
If you do select one or more items, you can use Print All or Print Selected to start printing the labels.
Printing Labels
-
Once the set of items for which you’ll be printing labels has been created, click Print All or Print Selected.
-
Regardless of Print All vs Print Selected, the Label Settings page is the same as seen here
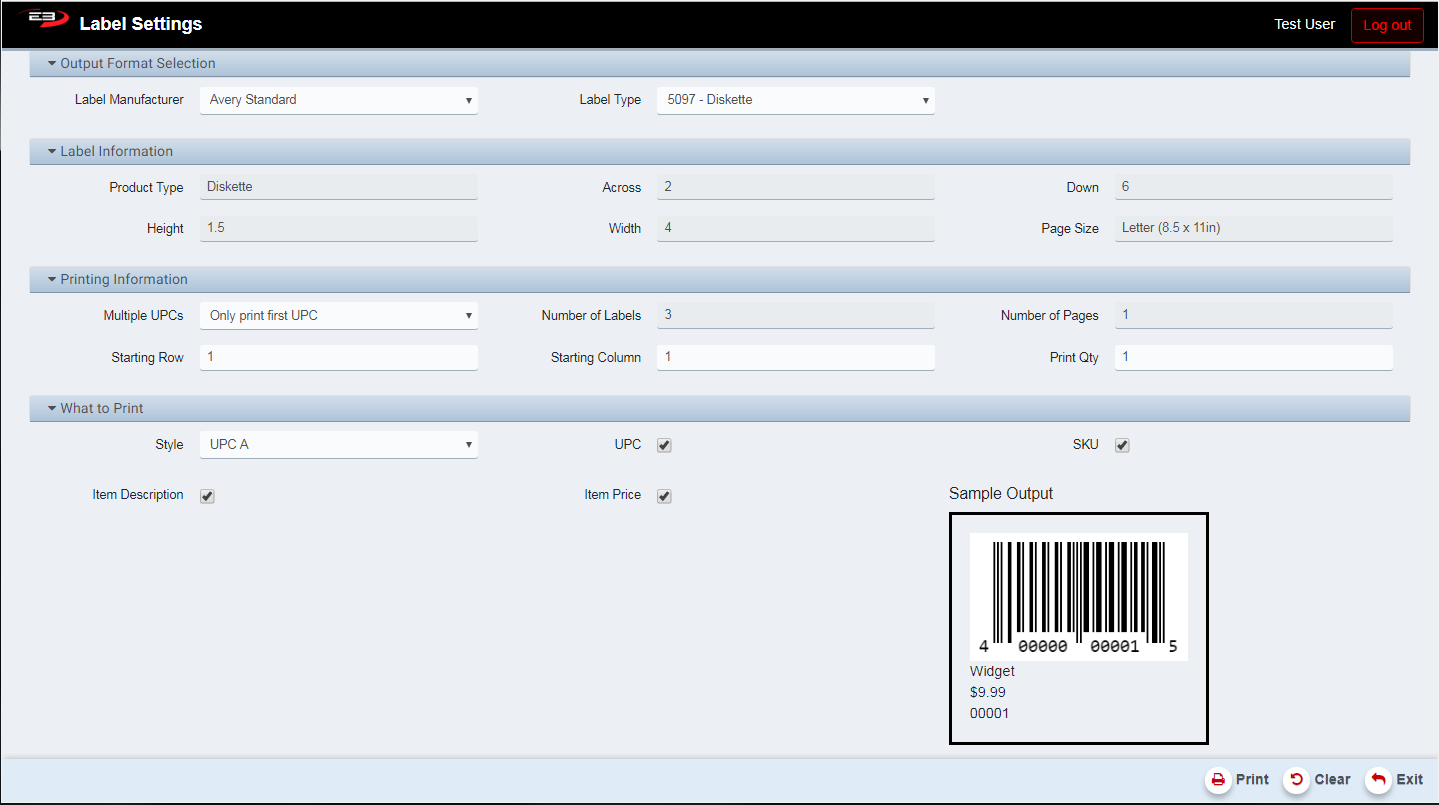
Screenshot of the Print Item Labels application.
-
Select a Label Manufacturer and Type from the drop-lists in the Output Format Selection section**.**
-
The read-only fields in the Label Information section describe the label sheets to be used for printing.
-
Select the Print Qty In the Printing Information section for the number of each different label to print.
-
Select what gets printed on the label using the checkboxes in the What to Print section.
-
Style is what style of barcode will be used, currently only UPC-A format is supported.
-
The UPC option prints the barcode.
-
The SKU option will print the item SKU.
-
The Item Description option prints the description of the item.
-
The Item Price field prints the price of the item.
-
-
The sample at the bottom shows what the label will look like when printed.
-
Click the Print button to generate a file containing the labels.
-
The output file is Barcodes.pdf and is saved in the default location, typically the Download for the user.
-
To create the actual printed labels, load the printer with the label sheets and then print the Barcodes.pdf file.