Receipt Maintenance
Initial Screen
-
Sign on to the BackOffice.
-
From the Configuration Management menu, select Receipt Maintenance.
-
The initial screen as shown below appears.
-
Receipt settings are grouped as follows:
-
OPTIONS
-
RECEIPT HEADER
-
RETURN POLICY FOOTER
-
CUSTOMER PIN
-
CUSTOMER SURVEY
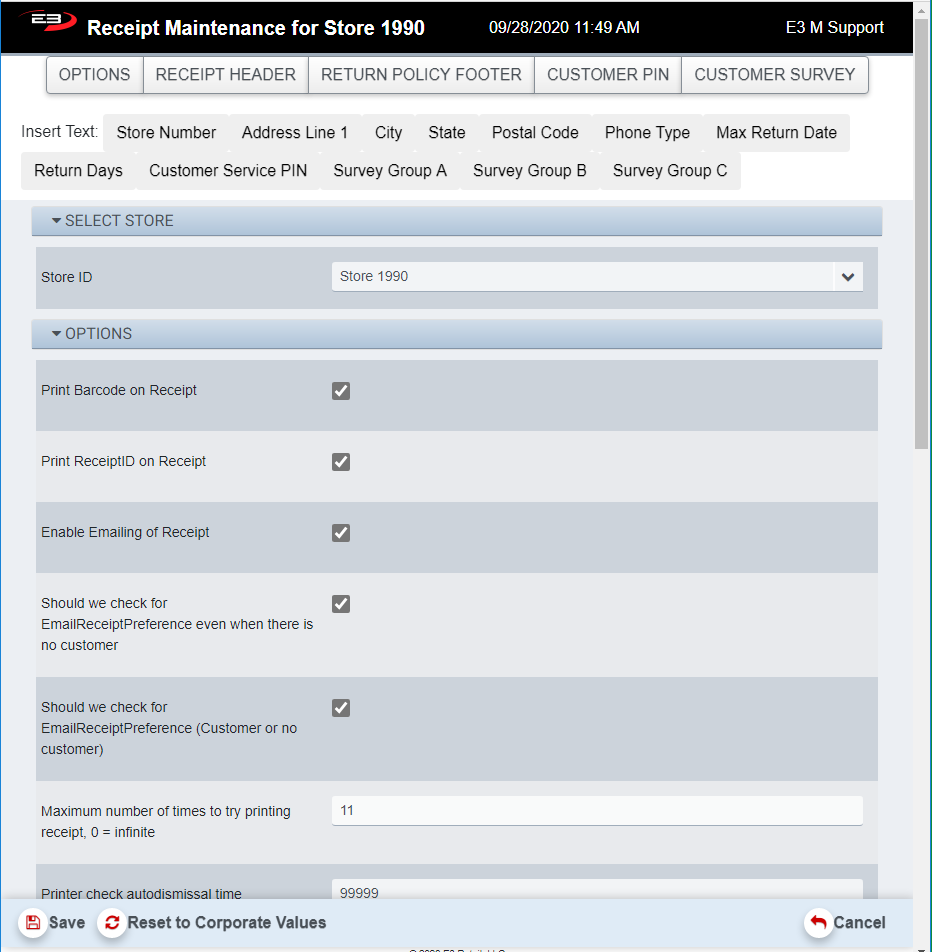
Screenshot of the Receipt Maintenance application.
-
Select a store from the list of stores visible to you.
-
The settings for that store are displayed.
-
Click on a group button to go to the settings for the selected group.
-
Click on Reset to Corporate Values to make settings match corporate settings.
-
Click Save to save any changes you have made.
-
Click Cancel to leave the application.
-
If you have modified settings without saving them and click Cancel, the changes are discarded.
Options
Options fall into two types: checkboxes and numeric values.
-
Checkboxes are true/false options, when checked the value is true; when not checked, the value is false.
-
Numeric values are just numbers, for example the number of times to re-try printing a receipt before failing.
Insert Text Buttons
Below the group buttons are the Insert Text buttons as seen here.

Screenshot of the Receipt Maintenance application.
These buttons will insert fields into the various lines for the following sections:
-
RECEIPT HEADER
-
RETURN POLICY FOOTER
-
CUSTOMER PIN
-
CUSTOMER SURVEY
If you are modifying any of the lines in these sections and click an Insert Text button, a field is inserted in the receipt line that will be replaced with the field’s value when the receipt is printed. For example, Store Number will be replaced with Store 1990 on the actual receipt for a register in Store 1990.
Receipt Header and Return Policy Footer
The Receipt Header is the top section of the printed receipt and starts at line 2. It continues through Line 21. The Return Policy Footer is at the bottom of the receipt.
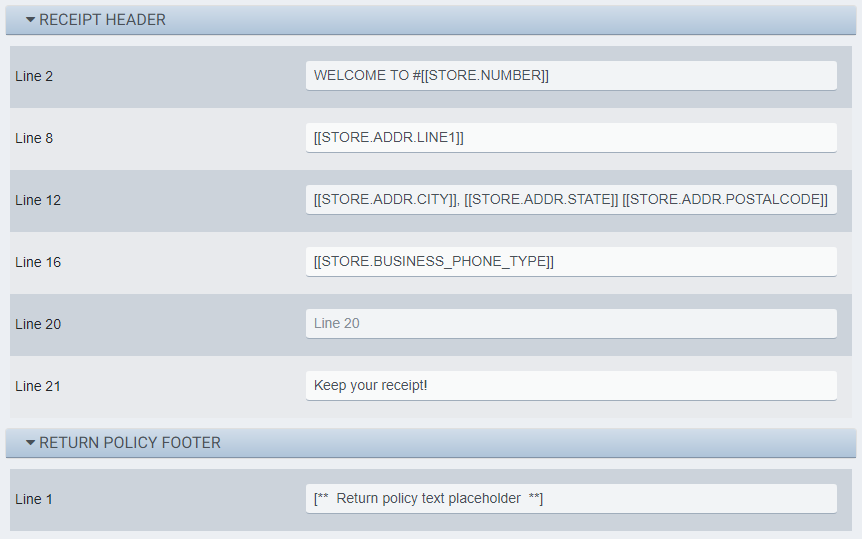
Screenshot of the Receipt Maintenance application.
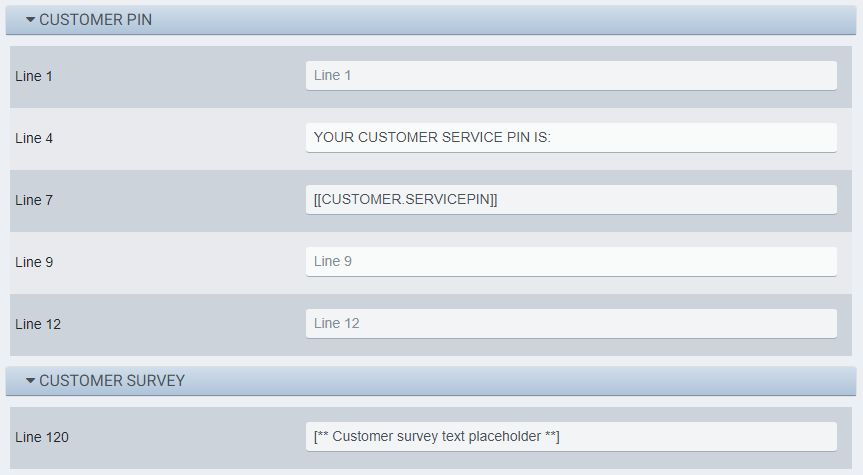
Customer PIN and Customer Survey
The Customer PIN and Customer Survey sections provide a unique PIN for that transaction and customer, plus an optional Customer Survey text section.