Inventory History
Initial Screen (Main Search Screen)
-
SignOn to the BackOffice.
-
From the Inventory Management / Reports menu, select Inventory History Report.
-
An initial search screen (like the one shown below) should appear:
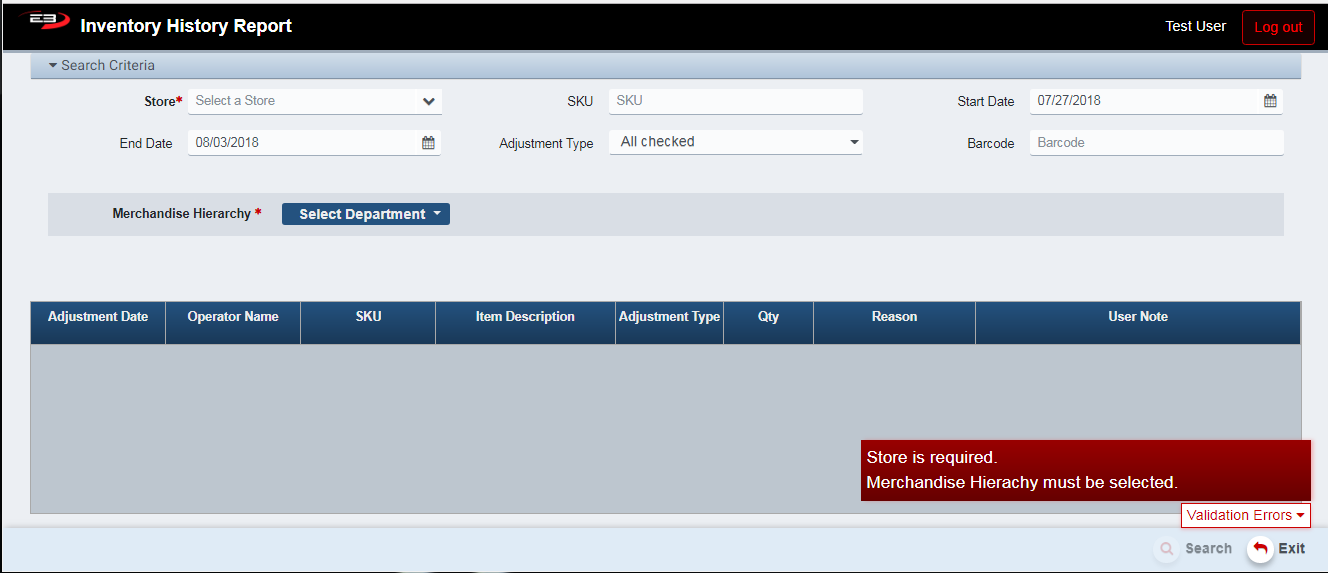
Screenshot of the Inventory History application.
- Select a Store from the list of stores visible to you, this is required.
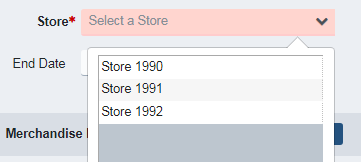
Screenshot of the Inventory History application.
-
Select the Merchandise Hierarchy to search, this is required.
-
Heirarchy can be Department, Department > Class, or Department > Class > Subclass.
-
Optionally, enter any of the additional search criteria to filter the search:
-
SKU - selecting the SKU limits the search to a single item.
-
Start Date - this sets the start date for the search
-
End Date - this sets the end date for the search
-
Adjustment Type - this limits the search to delected adjustment type(s), default is all selected.
-
In Store Use - removed from the inventory
-
Breakage - removed from the inventory
-
Shrinkage - removed from the inventory
-
Transfer Out - removed from the inventory
-
Transfer In - added to the inventory
-
-
Barcode - like the SKU, this limits the search to a single item with the specified barcode.
-
-
Select Search.
-
Verify the search result set, you should see the items filtered according to the search criteria.
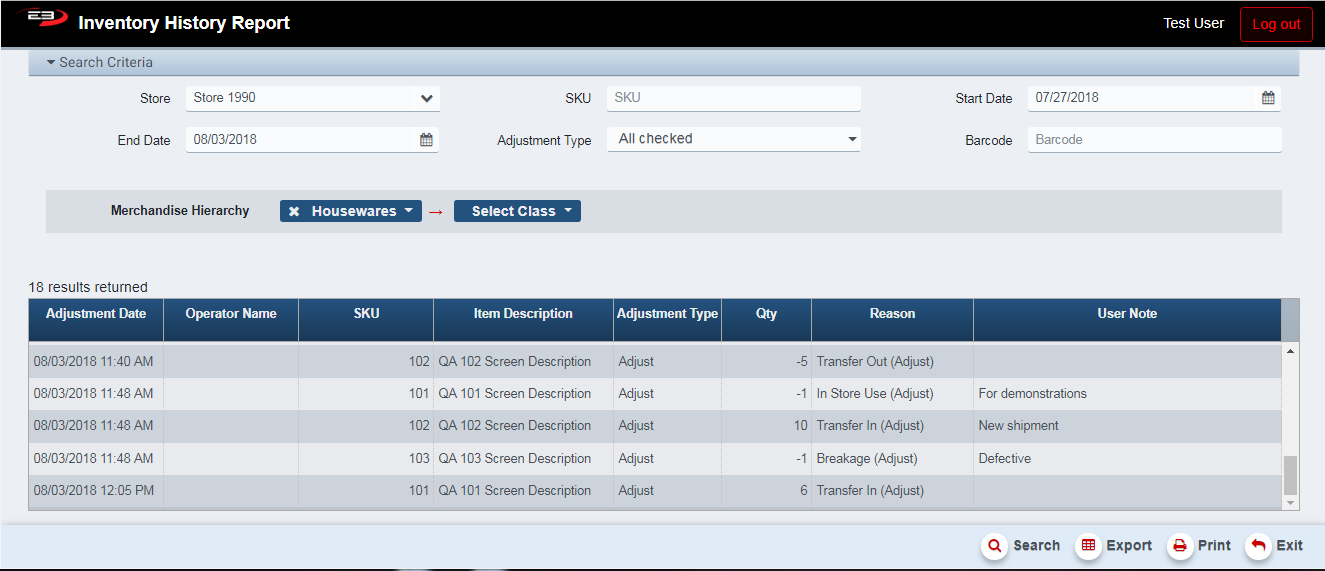
Screenshot of the Inventory History application.
- Click Exit to leave the application.
Results Grid
The results grid displays the inventory adjustments based on adjustment actions as listed in the search criteria. Note that this report does not cover inventory changes to to sales and returns.
-
Adjustment Date - the date the adjustment name.
-
Operator Name - the name or number of the operator that made the adjustment.
-
SKU - the SKU for the item whose inventory was adjusted.
-
Item Description - the item’s description, or Item Not Found if the SKU is unknown.
-
Adjustment Type - this is always given as Adjust, since sales/returns are not involved.
-
Qty - this is the number of items involved in the adjustment.
-
Reason - this is the adjustment type reason, it will be one of the following:
-
In Store Use - removed from the inventory
-
Breakage - removed from the inventory
-
Shrinkage - removed from the inventory
-
Transfer Out - removed from the inventory
-
Transfer In - added to the inventory
-
-
User Note - this contains any note entered by the operator when the adjustment was made.
Other Commands
Export
The Export function allows the user to save the report as a comma-separated values (CSV) file for use in Excel. Once you have a result set that’s filtered as desired, click the Export button. The file is saved as InventoryHistory_yyyy-m-d.csv in the default location, typically the Downloads folder for the user.
The Print function allows the user to save the report as an Acrobat PDF file for viewing/printing in Adobe Acrobat Reader. Once you have a result set that’s filtered as desired, click the Print button. The file is saved as InventoryHistoryReport.pdf in the default location, typically the Downloads folder for the user.