Suspend Resume
Initial (Main Search) Screen
-
From the Reports > Exception Reports Menu, select Suspend Resume.
-
An initial search screen (like the one shown below) should appear:
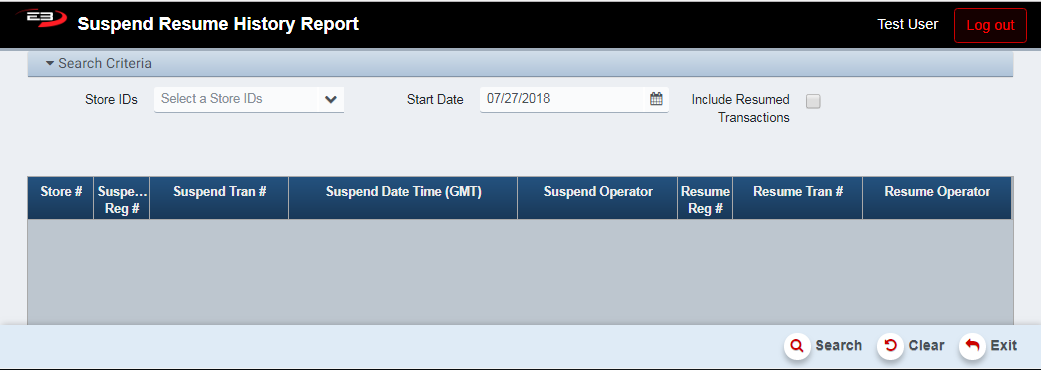
Screenshot of the Suspend Resume application.
-
Click Clear to reset the search criteria back to their default values.
-
The user may select one or more stores from their store visibility list in the Store IDs field.
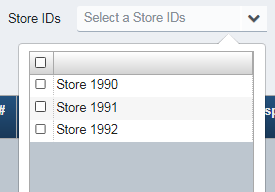
Screenshot of the Suspend Resume application.
-
The default Start Date is two weeks in the past but can be changed to any desired date.
-
Check the Include Resumed Transactions option to see resumed transactions, otherwise only currently suspended transactions will be visible in the results.
-
Click Search to see the transactions, if any.
-
If the results are not empty, the Export and Print buttons are made visible and enabled.
-
The results look like this:

Screenshot of the Suspend Resume application.
Result Grid
As seen previously, the results of the Suspend Resume History report are displayed in a grid. If no specific store is selected, results are returned for all visible stores. Only suspended transactions are included in the results unless the Include Resumed Transactions option is selected. The columns in the grid are:
-
Store # - this is the number of the store where the suspend/resume took place
-
Suspend Reg # - this is the register number where the transaction was suspended
-
Suspend Tran # - this is the transaction number for the suspended transaction
-
Suspend Date Time - this is the date/time stamp of the suspended transaction
-
If the transaction was never resumed
-
If Date >= 7 days old, display in ORANGE
-
If Date >= 2 days old, display in YELLOW
-
Otherwise display normal text color
-
-
-
Suspend Operator - this is the name or ID of the operator that suspended the transaction
-
Resume Reg # - this is the register where the transaction was resumed
-
Resume Tran # - this is the transaction number of the resumed transaction
-
Resume Operator - this is the name or ID of the operator that resumed the transaction
Other Commands
Export
The Export function allows the user to save the report as a comma-separated values (CSV) file for use in Excel. Once you have a result set that’s filtered as desired, click the Export button. The file is saved as Suspend Resume_yyyy-m-d.csv in the default location, typically the Downloads folder for the user.
The Print function allows the user to save the report as an Acrobat PDF file for viewing/printing in Adobe Acrobat Reader. Once you have a result set that’s filtered as desired, click the Print button. The file is saved as SuspendResumeHistoryReport.pdf in the default location, typically the Downloads folder for the user.