Till Balance Summary
Initial (Main Search) Screen
-
From the Cash Management / Reports menu, select Till Balance Summary Report.
-
An initial search screen (like the one shown below) should appear.
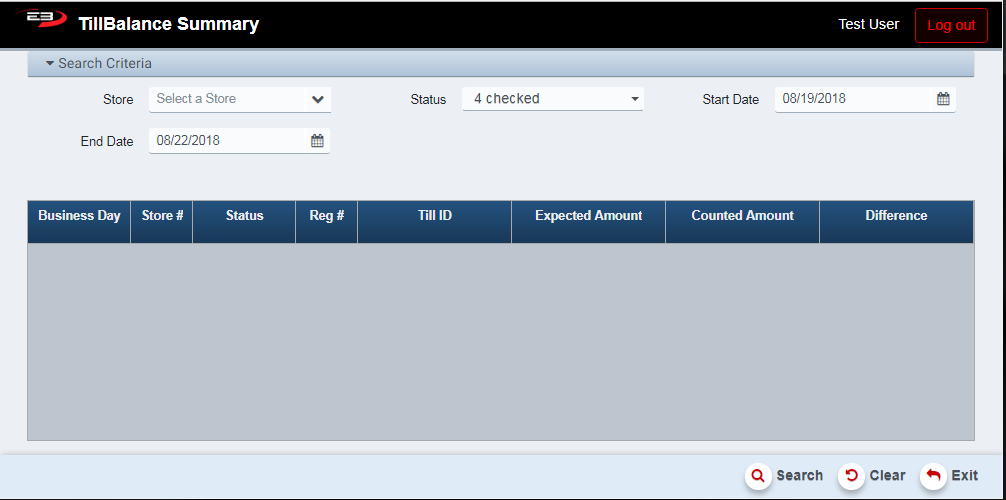
Screenshot of the Till Balance Summary application.
-
Click Clear to reset the search criteria back to their default values.
-
The user may select one or more stores from their store visibility list.
-
If only one store is visible, that store is selected by default.
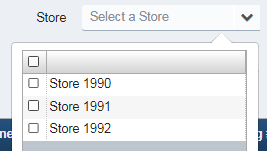
Screenshot of the Till Balance Summary application.
- The user may also select Status values to filter the results.
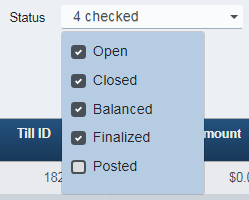
Screenshot of the Till Balance Summary application.
-
The user may select Start Date and End Date which will show tills in existence during that timespan.
-
Click Search to see the results, they will look something like this:
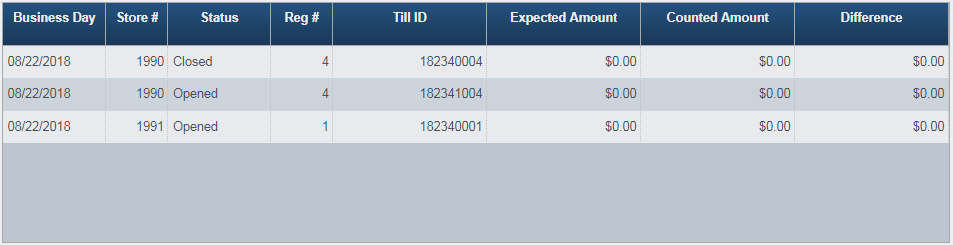
Screenshot of the Till Balance Summary application.
-
Note that the Export and Print buttons become visible and enabled when there are results in the grid.
-
See the next section for details about the results.
Result Grid
The result grid shows the various tills that existed during the time between the Start Date and the End Date. The columns in the result grid are:
-
Business Day - the business day for the till
-
Store # - the store to which the till belongs
-
Status - the status of the till
-
Reg # - the register to which the till belongs
-
Till ID - the unique identifier for the till
-
Expected Amount - the amount expected to be in the till
-
Counted Amount - the amount actually counted in the till
-
Difference - the difference between the expected and actual amounts
Other Commands
Export
The Export function allows the user to save the report as a comma-separated values (CSV) file for use in Excel. Once you have a result set that’s filtered as desired, click the Export button. The file is saved as TillBalanceSummary_yyyy-m-d.csv in the default location, typically the Downloads folder for the user.
The Print function allows the user to save the report as an Acrobat PDF file for viewing/printing in Adobe Acrobat Reader. Once you have a result set that’s filtered as desired, click the Print button. The file is saved as TillBalanceSummary.pdf in the default location, typically the Downloads folder for the user.