Workstation
Initial (Main Search) Screen
-
SignOn to the Back Office.
-
From the Support > Alert Viewer menu, select WorkStation Report.
-
An initial search screen (like the one shown below) should appear.
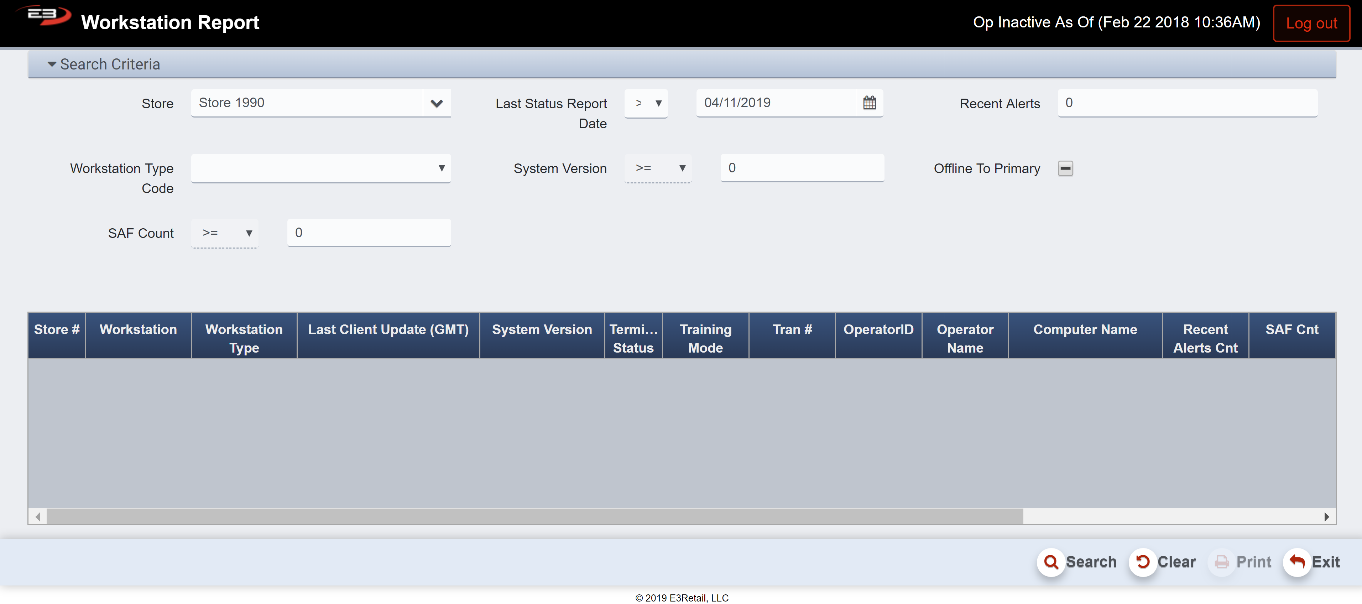
Screenshot of the Workstation application.
-
Click Clear to reset the search criteria back to their default values.
-
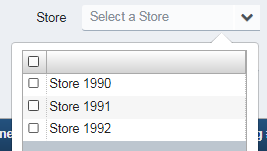
Set the Store field to one or more stores from the user’s store visibility list.
-
If only one store is visible, that store is selected by default.
Screenshot of the Workstation application.
-
The Last Status Report Date field and its comparison operator limit the data relative to a date.
- The date defaults to two weeks ago.
-
The Recent Alerts field filters on a minimum number of alerts, this defaults to 0.
-
The Workstation Type code is either Point Of Sale or Service, the default is to include all workstation types.
-
The System Version field filters on any value greater than that provided, the default is 0.
-
The Offline To Primary option filters online/offline state, the default is to not filter on this field at all.
-
The SAF Count field filters on any number of SAF records greater than the value provided, the default is 0.
-
Click Search to see the results, they will look something like this:

Screenshot of the Workstation application.
-
Note that the Print button become visible and enabled when there are results in the grid.
-
See the next section for details about the results.
Result Grid
The result grid shows the various workstation status values as they are relative to the search criteria. The columns in the result grid are:
-
Store # - the store to which the workstation belongs
-
Workstation - the number of the workstation
-
Workstation Type - what kind of workstation (POS, Service, etc.)
-
Last Client Update (GMT) - the date of the last database update to client workstation(s)
-
Highlighted in YELLOW if last update is more than 6 hours old
-
Highlighted in ORANGE if last update is more than 24 hours (1 day) old
-
Highlighted in RED if last update is more than 5 day sold
-
-
System Version - the system version of the software on the workstation
-
Terminal Status Code – the status of workstation
-
Training Mode – identifier if the workstation is in training mode
-
Tran # - the last recorded transaction number on the workstation
-
Operator ID – identifier ID of last operator on the workstation
-
Operator Name – name of last operator on the workstation
-
Computer Name - the computer name of the workstation
-
Recent Alerts Cnt - the number of recent alerts on the workstation
-
Highlighted in YELLOW if >-= 1
-
Highlighted in ORANGE if >= 5
-
Highlighted in RED if >= 10
-
-
SAF Cnt - the number of SAF records on the workstation
-
Highlighted in YELLOW if >= 1
-
Highlighted in ORANGE if >= 5
-
Highlighted in RED if >= 10
-
-
RawPoslog Cnt - how many raw Poslog entries there were from this workstation
-
Free DIsk Space - how much free disk space remains on the workstation
-
Highlighted in YELLOW if >= 1
-
Highlighted in ORANGE if >= 5
-
Highlighted in RED if >= 1
-
-
DB Size Issue - database size problem(s) detected, highlighted in RED if true
-
Missing Tran Cnt - how many missing transactions were recorded on this workstation
-
Highlighted in YELLOW if >= 1
-
Highlighted in ORANGE if >= 5
-
Highlighted in RED if >= 1
-
-
Offline to Primary - can’t communicate with the primary, highlighted in YELLOW if true
Other Commands
The Print function allows the user to save the report as an Acrobat PDF file for viewing/printing in Adobe Acrobat Reader. Once you have a result set that’s filtered as desired, click the Print button. The file is saved as WorkstationReport.pdf in the default location, typically the Downloads folder for the user.